Showing posts with label Vegetables. Show all posts

Sunday, August 18, 2019

Zucchini Fritters

While perusing recipes and trying to find new ways to cope with the seasonal zucchini overabundance from my mom's garden  I came across this recipe for Zucchini Fritters from Once Upon a Chef, to see the original post, click here. 


 Few notes on the ingredients: I used one SUPER sized zucchini after halving it and scooping out the seeds and overly pithy center. I also used cornstarch instead of flour. I also was VERY generous in my usage of dill and scallion and it didn't take away anything from the fritter, so feel free to be generous in your usage.

They are incredible and are definitely going to be an August staple in my kitchen


Ingredients: 
2. medium zucchini shredded
1 tsp. salt
2 large eggs
2 large scallions
2 tablespoons minced fresh dill
1/2 cup crumbled feta cheese
1 med. garlic clove, minced or finely chopped
1/4 tsp. black pepper
1/4 cup cornstarch (or flour)
1/2 tsp. baking powder
3 tablespoons olive oil, plus some more if needed


x
Shred your zucchini (I used my food processor to expedite) mix with salt and transfer to a fine-mesh strainer to drain. Allow the zucchini to sit for at least ten minutes. 

I then took the zucchini and wrung it out in a paper towel, the volume of the zucchini shrunk by half after I got all of the water out. 

Beat the eggs, mix in the zucchini, scallions, dill, feta, garlic, and black pepper. 
Add the corn starch (or flour) and baking powder and mix until it is incorporated. 

Heat the olive oil in a non-stick skillet over medium heat. Be sure to watch that the oil doesn't become too hot. Drop 2 tablespoon-sized portions into the pan and gently press down into fritters. 

Pan fry until golden brown about 3 minutes per side. 


Transfer the fritters to a paper towel-lined plate. 

Note that your fritters, once cooked may still be "bendy" when you transfer them to the plate. Allowing the fritters to rest for at least a minute or two will help them to firm up before serving. 

I served ours with store-bought tzatziki sauce on the side. 

If anyone knows a good tzatziki recipe, please send it my way I've been on the hunt for a good homemade option. 

xoxox


Thursday, July 25, 2019

Hulk Salad Transforms into a Satiating Veggie Burrito


One night I was sitting around trying to figure out what to do for dinner so I texted my fiance (aka fancy-boyfriend) and I asked him, "What do you wanna have for dinner?" 

"Edamame."

~Gulp air quickly, silently panic, and puzzle over the question that immediately popped into my head~ 

How do I make edamame into a meal?  

While they are one of my favorite things to snack on whenever I get the chance, it isn't something I often think about as the mainstay of a meal. 
I asked myself, 'How do I make those little beans into more?'  and I started thinking about it as a combination element in a vegetable-based salad. 

Which ended up as a challenge to myself, can I do this whole thing purely using plant-based ingredients? 

The answer: yes, and hell yes. 

After quickly raiding our freezer and fridge I cobbled together the following ingredients: 

1 steamer bag of broccoli and cauliflower
1 bag frozen edamame 
1 ripe avocado 


First thing I did was to pop the steamer bag of broccoli and cauliflower into the microwave. I wanted the veggies to have some time to cool down before I added them into the salad. 

Then I flash boiled the edamame, quickly putting them into an ice bath and salting them so I could snack as I pulled everything else together. 

I took the broccoli and cauliflower and using my new favorite tool, my mezzaluna salad chopper, made everything into bite-sized pieces.

I set that aside, took my avocado removed the flesh and mashed it thoroughly until its consistency was similar to that of mayo, I added a little squeeze of lime juice to keep the color vibrant (whoever wanted to eat a brown salad? No one that's who). 

Added a little salt and pepper to my 'avo-mayo' and mixed in the edamame and the broccoli and cauliflower. 

It was delicious on a couple of GG Fiber crackers and then I rolled some of it into a burrito for my fancy-boyfriend and added a little bit of cheddar cheese. 


If you would like more crunch, I recommend roasting the broccoli and cauliflower and I personally LOVE adding cilantro to the avocado for a little bit more flavor. 


Wednesday, September 12, 2018

Dragon Tongue Bean Stir Fry


Crunched for time? Try this recipe. 


I kept my stir fry VERY simple with three principle ingredients, Dragon Tongue beans, Mung bean sprouts and Garlic Chives.


Dragon Tongue beans are pretty long beans, so I cut mine into 1 inch pieces. 

Turn your stove to high heat. Add 1-1 1/2 teaspoons of grape seed oil to your pan. 
Allow it to heat. Add the Dragon Tongue beans. 


Get a good sear on the beans, you'll notice that where visible, the beans will change color to a more vibrant green, this only took me a little over two minutes.  Quickly add the sprouts, sauté for maybe one more minute, add the chives, some salt and pepper, and  you're ready to serve!


Wednesday, March 15, 2017

"Bagel" Salad with a Lemon Dill Vinaigrette


During yesterday’s snow storm I was going a little stir crazy.
Ok, maybe more than a bit crazy, but then my friend suggested we do a late day Soul Cycle class as the snow was abating which turned out to be a majorly delicious life decision. 

There is something wonderful about leaving a Soul class completely exhausted, drenched but grinning, and feeling like you can do anything.
Endorphins = Everything. 

 I got home and was hungry but not starving. Then after about fifteen minutes I started craving a bagel, which really means I needed some thing savory. 
I didn’t feel like completely erasing all my hard work, so,  I decided to throw together a “bagel salad.” 

A Bagel salad is essentially everything I like on my bagel... minus the cream cheese... and the bagel.  I know it sounds like I'm gypping myself but I promise you it's the perfect substitute. 
Quick, salty, refreshing, and not too heavy this salad completely hits the spot.

Vinaigrette Recipe
Your acid to fat ratio for this dressing is 1/4 acid (lemon juice) to 3/4 fat (olive oil).

Lemon juice (1/2 a lemon)
 Olive oil 
1/4 tsp dill 
1/4 tsp crushed garlic 
1/2 tsp honey 

Whisk the ingredients together vigorously. Reserve on the side. 
This recipe really just needs a touch of dressing and you will definitely have more dressing than you need. Reserve the rest of the dressing for later and use it on your salads throughout the week. 

Salad Base

1 cucumber 
1 oz smoked salmon 
1 radish cut thinly 
1/2 tsp chopped chives 
1/4 tsp black sesame seeds 

Peel the cucumber and remove its seeds. Slice the cucumber into long strips lengthwise before chopping into bite sized pieces. Do the same to the smoked salmon.
Thoroughly wash and then thinly slice the radish. 

Mix the ingredients together in a bowl. 

Drizzle some dressing on the side of your bowl, mix into the rest of the ingredients. Start with a small amount of dressing and build to your taste. The idea is that the ingredients are coated but not sopping in the vinaigrette. 


Wednesday, March 1, 2017

Roasted Chicken Breast with Mardi Gras Veggies: Fat Tuesday, Skinny Eats

Belated Happy Mardi Gras! 


Several of my friends use this period after Mardi Gras as a de facto diet, "giving up" many of the delicious indulgences in an effort to be summer ready. I am equally guilty of this and thus have been trying to clean up my act and my diet at the same time.


One of my absolute favorite dishes my grandmother makes is her roasted red peppers, which she usually serves with her extra thin fried chicken cutlets. 
Just of the thought of them has my tummy grumbling. 

[Crazily enough the store didn't have red peppers so I used the green ones. They definitely were less sweet than my grandmother's and so in the future I highly recommend sticking with the red.]

I wanted to see if I could replicate my grandmother's peppers and serve them with a leaner choice of protein. I had some of the boys over for dinner, as well as one of their beautiful girlfriends who brought the most delicious pastries and one of the most competitive games of Jenga... we had a blast!

Grandma's cutlets while delicious pieces of perfection are not exactly diet friendly. 
As an alternative I roasted chicken breasts in chicken stock with parsley at 325 for about an hour. Halfway through I rotated the chicken on top to keep all of the chicken moist.


Thoroughly wash your peppers and remove any labels or stickers. Place your peppers on a baking sheet.

Since the peppers are going to be broiled, thus exposed to an open flame, make sure there is no paper on the peppers.


Set your oven to broil, rotate the peppers until all the skin is charred.


Check to make sure all sides of the pepper are charred. 
This one needed a little more time.


Once all the peppers are thoroughly charred, place all the peppers in a paper bag and allow them to cool. 


Once cooled, tear open the bag. 
I found that the bag absorbs a lot of the moisture during the cooling process and for the sake of easy clean up I always leave the "paper bag dumpling" in a bowl. 


The skin should peel off easily, use a knife to remove any stubborn skin, the seeds and the top of the peppers. 


Slice the peppers into slivers, and add to a large mixing bowl with garlic, salt, and olive oil. 
Allow the mixture to stand at room temperature until you are ready to serve. 


For the seven peppers I roasted, I used 1/2 tsp. of salt, 1/2 cup of olive oil and 2 cloves of garlic. 


I also served the several other vegetable sides with the chicken. 


Roasted Eggplant with cubed butternut squash, and onions. 


Fresh tomato salad.


Sautéed dandelion greens with eggplant and spicy red pepper. 


The boys came to dinner armed with flowers and wine. 
I have the sweetest brothers in the world. 

My favorites from one of my favorites.

We also had one brother join us via Facetime. 
His perfect attendance record remains technically intact. 


Sunday, November 27, 2016

Turkey Day Detox

Stir-Fried Cauliflower


It's that time of year, the turkey's been gobbled, guests stuffed to capacity  have enjoyed the cornucopia of holiday goodies pre and post turkey-time naps.  Leftovers everywhere have gotten the "Ross Geller" special; heading full speed into my Christmas-crazy, tinsel time merry-mania... my full body transition into Buddy the Elf is almost complete, and now is exactly when I feel the need to lighten up my meals.
This usually means that my fridge is greener than my Christmas tree and my diet is predominantly vegetables.  So, when I had a craving for Chinese food instead of ordering fried rice I decided to make some cauliflower stir-fry with whatever I had on hand. 

Ingredients: 
1 tbsp Grapeseed Oil
1 Head small of Cauliflower, finely chopped (about 4 cups)
1 Maitake mushroom
1 medium sweet white onion chopped
1 cup of chopped celery and carrot
1 cup napa cabbage
2 eggs scrambled
2 tbsp soy sauce 
1 tsp fish sauce 
Salt & Pepper to taste 


[ Optional* a drizzle of chili oil or Sriracha right before you dig in]


Heat 1 tablespoon of grapeseed oil in a large frying pan over medium heat. 
Once the oil is hot add your finely chopped cauliflower to the pan and cook for a few minutes stirring until it develops a bit of color. 
Remove the cauliflower and reserve for later.


Lower the heat to medium-low, add chopped celery, carrots, and chopped white onions until the onions begin to look translucent. 


Chop your Napa cabbage and Maitake mushroom add to your pan. 


After about 2-3 minutes push your vegetables to the side and add your scrambled egg to the pan. Once the eggs are cooked add your cauliflower back into the pan with 2 tablespoons of soy sauce and 1 tsp of fish sauce. 


Add salt and pepper to taste. 


Thursday, November 10, 2016

"Taco" Cannellini Chili


Post Taco-Tuesday I was left with extra taco meat and some of the fixings. I used these left overs to make chili. 

I added 1 1/2 cups of chopped tomatoes with 1 tsp. of garlic and 1 tsp of olive oil.


I then added the left over taco meat (2 cups) that I had left over and one cup of water. 

When I prepared the taco meat originally I used 3 lbs. of lean ground beef, 2 large caramelized onions, and a package of taco seasoning. 


I allowed that to cook down for about 20 minutes and start to reduce. 


I took the leftover shishito peppers that I had prepared as a snack and added them to the chili along with 1 can of strained cannellini beans. 


I allowed this to cook for an additional 15 minutes. 

About 5 minutes before I was going to serve the chili, I added 2 cups of baby kale to the chili. 


Wednesday, November 9, 2016

Shishito Peppers


I had Shishito peppers for the first time this summer at a cocktail party in the Hamptons.
Mostly sweet, the sign warning against the occasional spicy pepper resulted in a Russian roulette-esque game among the guests that was a great icebreaker. 
I've been trying to clean up my diet, so, when I saw them at the market I knew they'd make the perfect snack!

1 Teaspoon coconut oil
Shishito Peppers (2 cups)
Himalayan Salt


Wash your peppers, leave the stems on, pat dry. 
The stems will serve as a handle to eat the rest of the pepper. 
If you plan on serving them at a party, be sure to have a container for the discarded stems. 

Heat your pan to a medium heat and add your coconut oil. 

Do not allow your oil to start smoking! 

If your oil is smoking your pan is way too hot. 

Add your washed shishito peppers, sauté over medium heat tossing them every so often until they develop a nice char. 

The smaller the batch of peppers the faster they will cook. A large batch of peppers would require more oil and take longer to cook. 

Finish with some Himalayan sea salt and enjoy!


Monday, November 7, 2016

Butternut Squash Soup

This butternut squash soup is a game changer. 
It’s simple, delicious, fast, hearty, and easily modified to fit dietary restrictions.


Butternut squash soup with pan-fried salad turnips


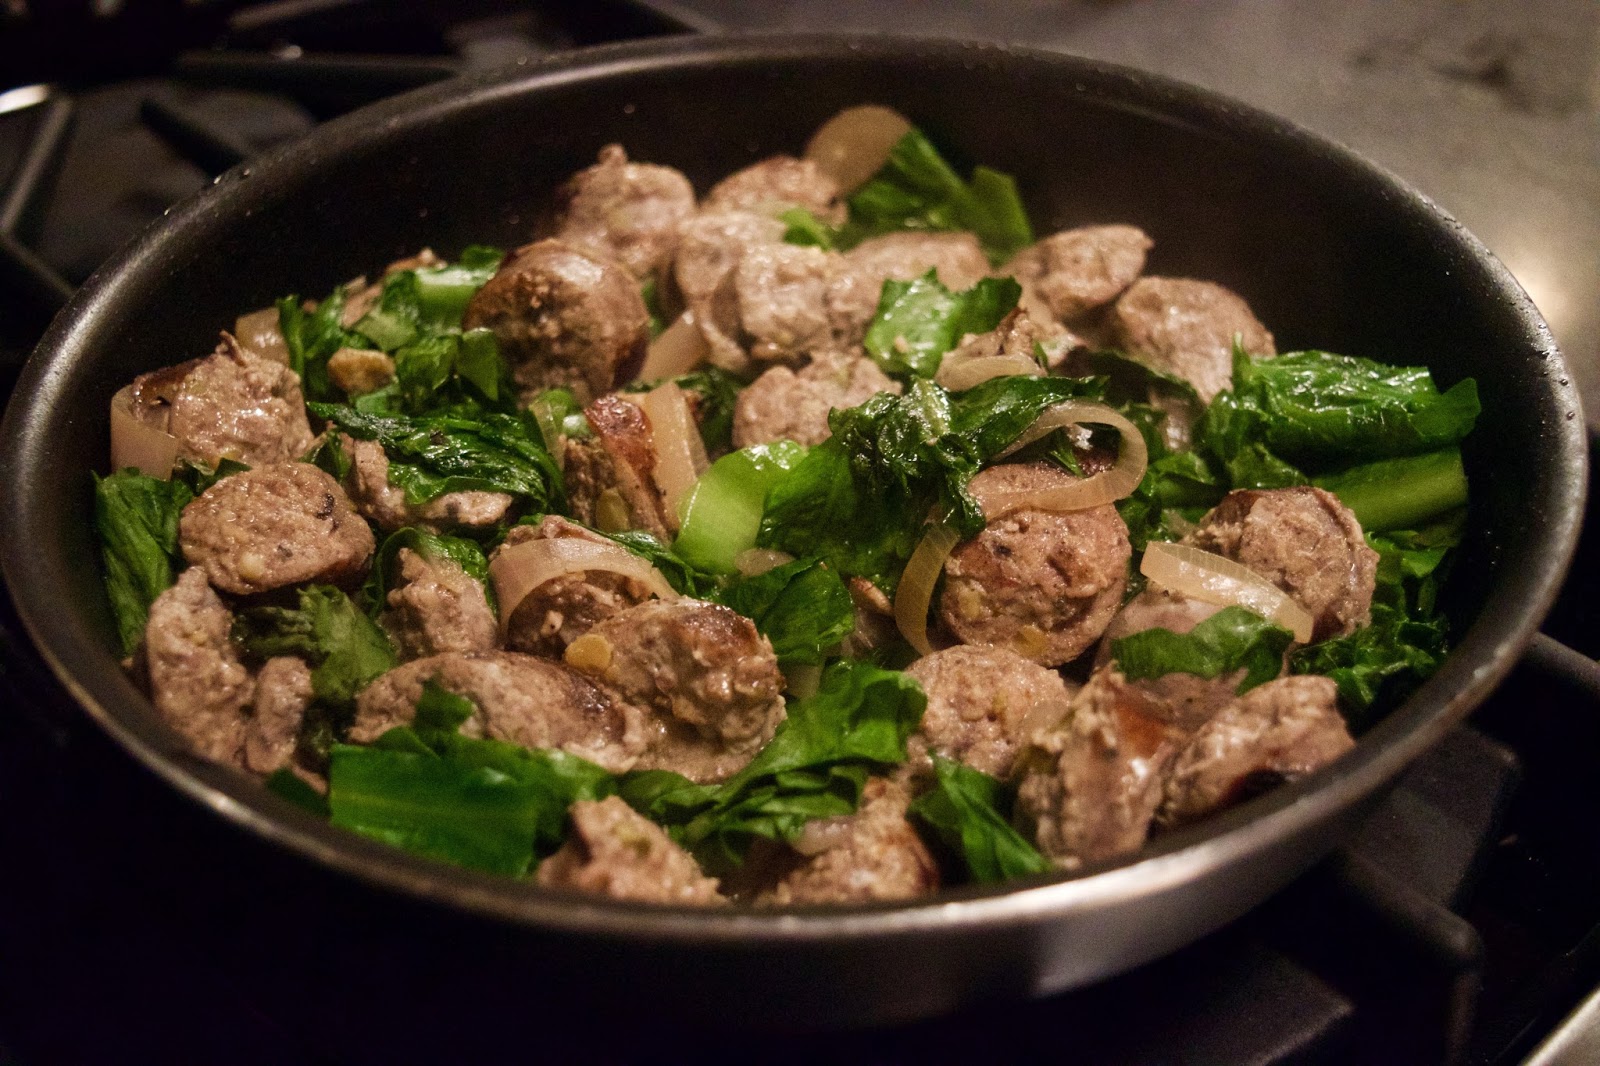
Butternut Squash Soup with pan-fried apple sausage, shallots and escarole


You will need:


2 large yellow onions
1 shallot
1 tbsp. olive oil
The flesh of 2 butternut squash
36 oz. Chicken Stock (or Vegetable stock)
1 tbsp. Garlic
1 tsp. Turmeric
1 tbsp. Ginger
1 tsp. Paprika
1 tsp. Cumin
1/2 tsp. Sage

Himalayan Salt
Pepper
Optional: Curry Powder


Cut the squash into chunks approximately 1 inch long. 
If you are in a bit of a rush, a lot of grocers are now selling butternut squash already prepared (peeled and cut).

You do not need to cook your squash before adding it to the pot.


Caramelize the onion and shallots with about 1/2 tsp. of salt in the olive oil over medium heat until almost translucent. 


Add the butternut squash chunks, spices, and the chicken stock. 
Cook for approximately 20 minutes until the squash is tender. 


Turn the heat to low, use your emulsion blender to puree the mixture; season with salt and pepper to taste. 


I like to top the soup with additional protein or sautéed vegetables in order to make it feel heartier. 

This time around, I decided to pair the soup with pan-fried apple sausage, shallots, and escarole.